
Here’s Your Guide To Acrylic Nails!
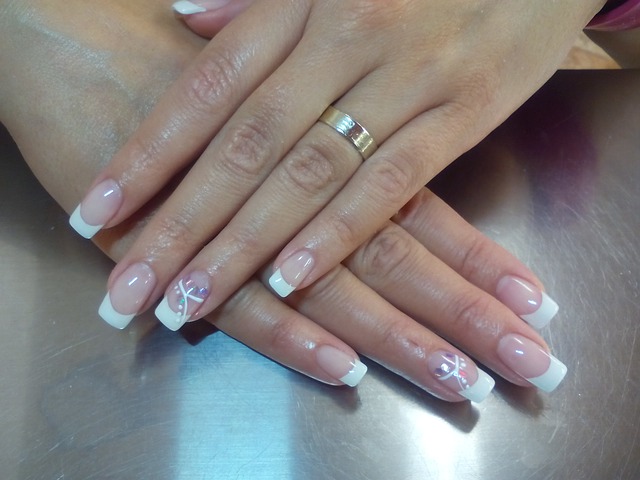
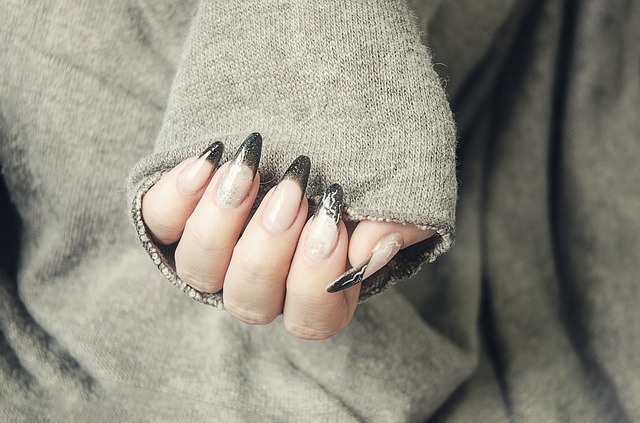
As you probably know already, natural-looking acrylic nails represent the best definition of glamour in beauty. Still, you might ask yourself whether or not to get acrylic nails, as there is a constant debate on their safety. Since we are here to help you make the best out of your beauty care routine, we’ve shared up next detailed information on natural acrylic nails. Let’s see what those are and how to do natural-looking acrylic nails starting today!
What are natural acrylic nails?
Acrylic nails represent nail enhancements designed with a mix between a liquid acrylic compound and a powdered acrylic. These two ingredients form a soft ball that can be transformed into a nail shape. Once the acrylic compound is applied to a nail, it hardens and becomes significantly stronger. And as a result, it can be designed and filed accordingly to your desires.
An interesting fact about acrylic nails is that they were created back in 1934 by a dentist. He aimed to help nail-biters stop this habit with artificial nails. And this opened the path to the natural acrylic nails we know today! Who would’ve known that a doctor’s desire to help his patients will turn into a beauty must-have?
How to do acrylic nails
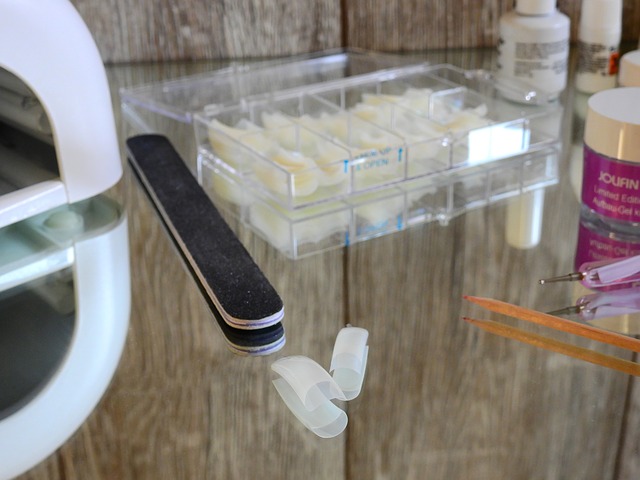
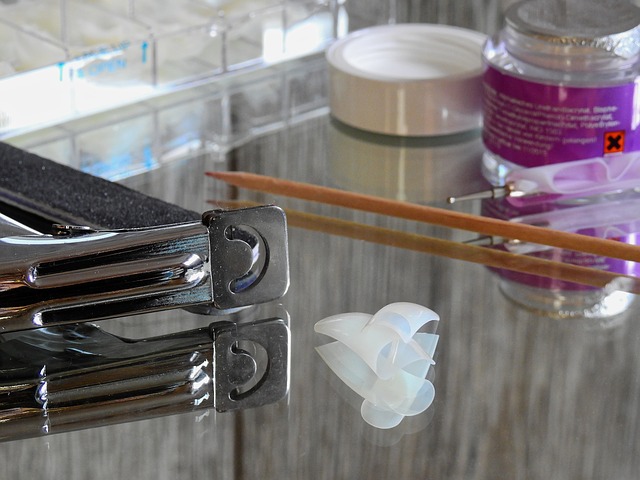
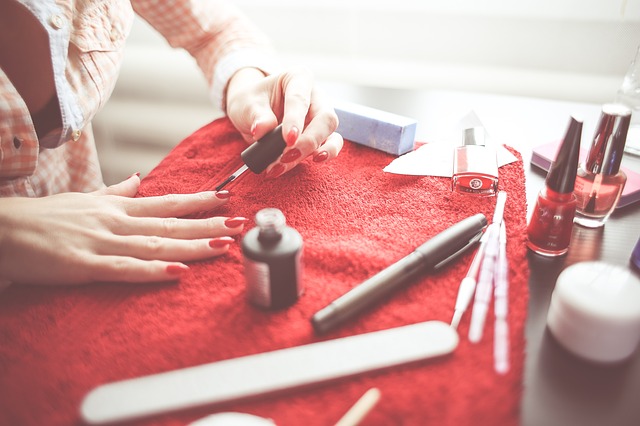
Indeed, it is highly recommended to have a nail technician apply your natural looking acrylic nails. But with a bit of attention to detail and determination, you can manage to do it by yourself at home. Hence, you will need the following acrylic nails tools:
- Cuticle Remover
- Cuticle Pusher
- Buffing Block
- Nail File
- Nail Prep/Dehydrator
- Acid-Free Nail Primer
- Dappen Dish
- Acrylic Nail Brush
- Lint Free Wipes
- Acrylic Powder
- Acrylic Liquid
- Top Coat (either Air Dry Top Coat or Mega Gloss or Matt Top Coat)
- Nail Tips (optional)
- Nail Glue (optional)
- Pure Acetone (optional)
- Cuticle Oil (optional)
- Pinching Tool (optional)
- Manicure Brush (optional)
After you gathered all these supplies, you can move forward to your guide on how to do acrylic nails. Make sure you have everything you need before you start the process, as it might prevent you from achieving the desired results.
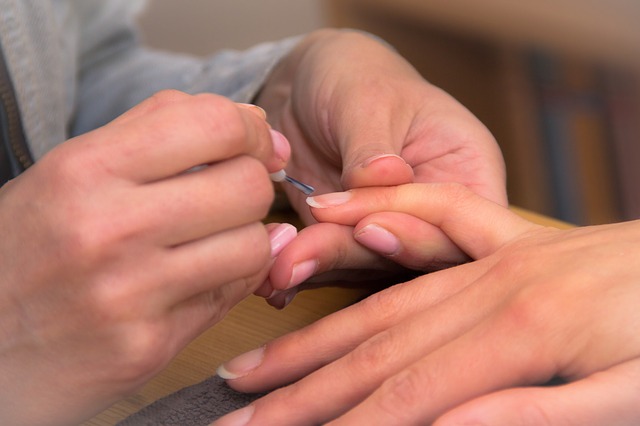
First step: preparing your nails
The first step to applying acrylic nails is prepping the nail adequately. This means that you will have to:
- apply a cuticle remover so that you make sure your cuticles are pushed back
- use a buffing block to clear off the shine of your nails
- use a manicure brush to remove dust
- apply a nail prep or dehydrator and allow it to dry for a couple of seconds
- apply acid-free nail primer
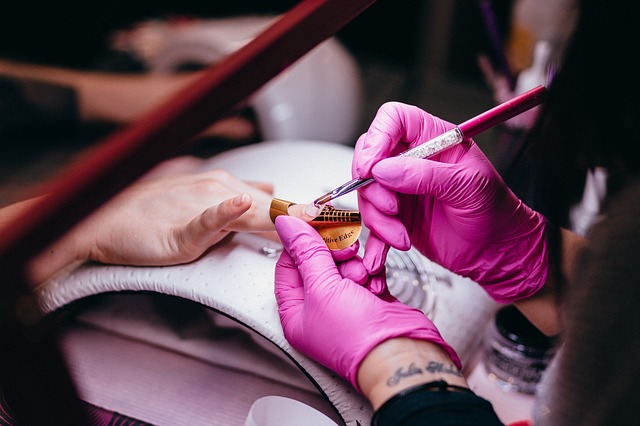
Second step: using the acrylic
After you prep your nails, as mentioned above, you are ready to move on to the next step. This is essential to achieving natural-looking acrylic nails, so you should pay close attention to all the steps below:
- add your acrylic liquid into a dappen dish
- use an acrylic brush to remove any air bubbles in the dish
- remove any excess liquid from your brush
- dip the brush in the acrylic powder and move it around until you create a ball of acrylic
- press the brush with the powder ball on a lint-free pad to remove any extra liquid
- put the ball of acrylic on the nail near the cuticle and make sure you spread it evenly towards the nail tip
- mold the acrylic by pressing the brush to your nail and make sure you use gentle moves to smooth any bumps or imperfections
- allow it to dry for 2-3 minutes
- file the nail until its surface is smooth and you achieve the desired shape
- make sure you add a top coat to stabilize the acrylic on the nail. You don’t need a drying lamp, you can apply the top layer and allow it to dry between 2 to 5 minutes
- in the end, add a bit of cuticle oil to the cuticles and rub it in with your fingers
How long does it take to get your nails done?
Since you will have to follow carefully all the steps mentioned above, you should reserve between one to two hours to do your natural acrylic nails at home. It is always best to take your time and allow the acrylic to dry adequately.
How long do acrylic nails last?
Overall, natural acrylic nails can last up to three weeks. But this depends on how patient you are when applying the layers of acrylic. If you don’t let the acrylic dry, you won’t be able to enjoy your acrylic nails for too long.
How to remove acrylic nails?
Always remember that it is highly recommended to avoid pulling out your acrylic nails! Instead, you can soak your nails in acetone until they are incredibly soft. Once the acrylic is softened, you can start file the acrylics one by one. Make sure you use gentle movements and, of course , you soak your nails adequately before beginning the filing process.

updates?


0